
Now, I have never professed to be a particularly internet savvy person, but I do try to learn how to do things so it’s easier for myself! And when I manage to figure things out, it stands to reason that I should share these little gems of information!
The other day the lovely TJ invited me to become a part of his new Haiku Hub, and I asked whether it would be ok to use the image as a widget on my side-bar, and maybe even link it to his page. He was more than happy for me to do this, but asked that I share the method, so here I am, trying to do this!
So if you want an image widget on your side-bar, you need to click on WP admin and scroll down to Appearance, then Widgets. Once you open this page there is a list of available widgets on the right, and the left should show you what you already have on your side-bar and in your footers.
Select the Image widget, and drag it to wherever you would like it to sit on the column on the right. (Bear in mind things sometimes look different once in place, so be prepared to revisit this part, to drag the widget to the optimum place!)
You will see this screen when you expand the Image widget.
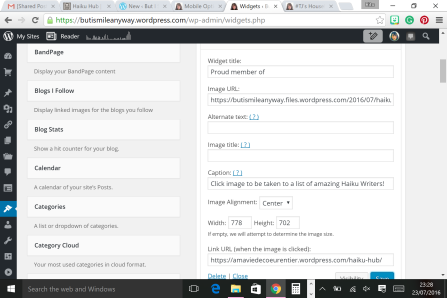
Just fill in the fields as you wish. So, give it a title, and then you need to find the Image URL. What’s that you say??
Well, if you download the image you want in your media library, then open it, you see this screen.
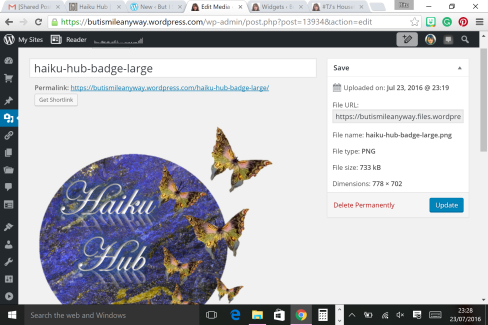
Use the File URL in the Image URL box on the Widget set up screen.
Then add the caption you wish.
The Link URL requires you to pop the link in where you want your reader to land when they click the image.
Once you have done that, click save, then view your web page, and try it out!
Voila! A clickable image with an embedded link! Check me out!


